Sending documents
Import a Word, HTML or DocuSign file
Turn a Word document, an HTML file or a DocuSign template into a PDF on your device, with fields from text tags and values for variables.
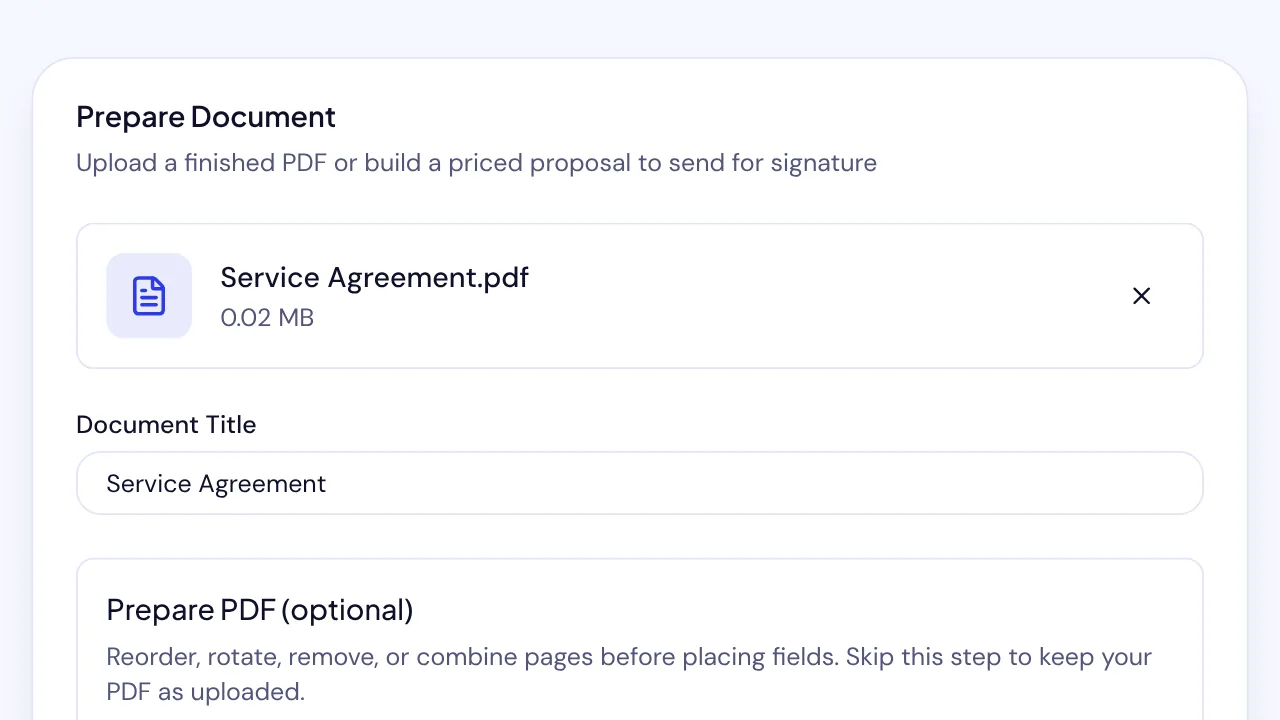
SignQuick converts a Word, HTML or DocuSign template file into a PDF on your device and turns its text tags into fields.
Convert a Word or HTML file
The import panel is on the Document step of a new document and on Create Template. It converts the file into a PDF in your browser, so the original file stays on your device. Only the PDF you apply uploads, like any other PDF.
A file can be up to 10 MB, or 20 MB for a DocuSign export, and up to 200 pages. Word files must be .docx, without macros or a password. HTML can use styles and embedded PNG or JPEG images. Scripts and remote content are never loaded.
- Step 1: Select New Document. Under Import Word, HTML or DocuSign, select Import a document.
- Step 2: Select Choose a file and pick the .docx or .html file. You can also drop the file on the upload area.
- Step 3: When the conversion finishes, check every page in the preview. If Review these changes shows up, read what changed.
- Step 4: Tick the box that says you reviewed the converted pages.
- Step 5: Select Apply reviewed PDF.
Result: The converted PDF becomes the document, and the file's name becomes the title unless you typed one. You can still prepare its pages before you select Continue.
Add fields with text tags
Type a text tag in the file wherever a signer fills something in. When the file converts, the field replaces the tag's text and a line marks the spot.
Some examples: [[sq:signature]] is a signature for signer 1. [[sq:date:signer_2]] is a date for signer 2. [[sq:text:signer_1|label=Company|optional|width=180]] is an optional text box 180 points wide. [[sq:dropdown|options=Basic,Pro,Enterprise]] is a list, and [[sq:checkbox|label=I agree]] is a checkbox.
Tags work for signature, initial, date, name, email, phone, address, company, title, text, number, checkbox, dropdown, radio, note, attachment, approve and decline. Spanish names work too, such as [[sq:firma:firmante_2]]. A tag without a signer belongs to signer 1.
Settings go after a | sign: label, optional or required, width and height in points, options for lists and choices, multiline for text, entered for a date the signer types, and files or maxmb for attachments. A tag with a typo stays on the page as text and the panel lists it, so a mistake never turns into a field you didn't mean.
In Word, mail merge fields and legacy form fields convert too, and content controls tagged with sq: become fields. In HTML, you can also add an element such as <sq-field type="signature" role="signer_2">.
On Add Signature Fields, the fields from the tags wait in Find fields in this PDF. Choose a recipient for each one and add them. You can move and resize them afterward.
Fill in variables
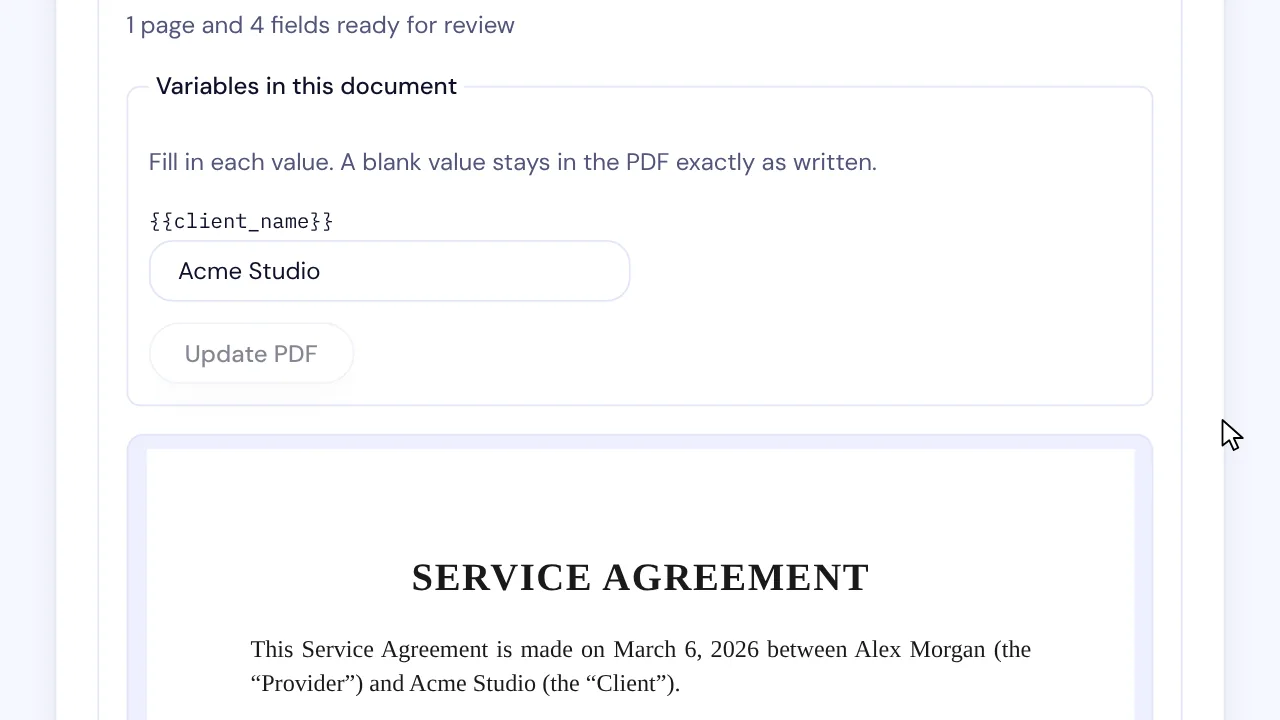
Write a variable such as {{client_name}} wherever a value changes from one document to the next. A name starts with a letter and uses letters, numbers and underscores.
Signer, sender, document and date variables, such as {{signer.name}} and {{date.today}}, fill in by themselves for each recipient when you send. In a template, a variable you leave blank becomes a value each sender fills in for every document.
- Step 1: After the file converts, find Variables in this document in the import panel.
- Step 2: Type a value for each variable.
- Step 3: Select Update PDF and check the page again.
- Step 4: Tick the box that says you reviewed the converted pages, then select Apply reviewed PDF.
Result: The values flow with the text on the page. A variable you leave blank stays in the PDF as written, and Review these changes lists it.
Import a DocuSign template
Download the template from DocuSign as a .json file, or as a .zip file with its documents, up to 20 MB. Then choose it in the import panel, the same way as a Word file.
Up to 10 documents in the template merge into one PDF, in their template order. Signers, in-person signers and witnesses become signer 1, signer 2 and so on, in routing order. Carbon copies, certified deliveries, agents and editors are left out, and the panel tells you.
DocuSign fields come across as the matching SignQuick fields, in the same places. Fields placed by anchor text, formula fields, and conditional or validation settings don't carry over, and Review these changes lists them. On Create Template, the template's name and description fill in too.
Choose a file from Google Drive
Google Drive is under the upload area on the Document step and on Create Template. SignQuick can open only the file you choose, and its access ends after the download.
- Step 1: Under For Google Docs files, keep Keep the Google Docs layout (PDF), or choose Convert text tags and variables (Word) if the Google Doc has text tags or variables.
- Step 2: Select Choose from Google Drive.
- Step 3: Sign in to Google if it asks, and pick one file.
Result: A PDF goes straight to the Document step. A Google Doc, Word, HTML or DocuSign file opens in the import panel, where you review it and apply it.
Common questions
Does my Word file upload to SignQuick?
No. SignQuick converts it in your browser. Only the PDF you review and apply uploads, when your draft saves.
Can I import a .doc file?
No. Save it as .docx in Word first. Text tags typed into an ordinary PDF work too: SignQuick finds them when you select Find fields on Add Signature Fields, and they stay visible on the page.
Which fonts does the converted PDF use?
Text uses the standard PDF fonts: Helvetica, Times and Courier. Characters they can't show use a font that comes with SignQuick, and the panel tells you if a character had to be replaced.