Sending documents
Customize how fields look and work
Style a field's text, guide signers with help text, use character boxes, repeat a field on every page and save fields your team can reuse.
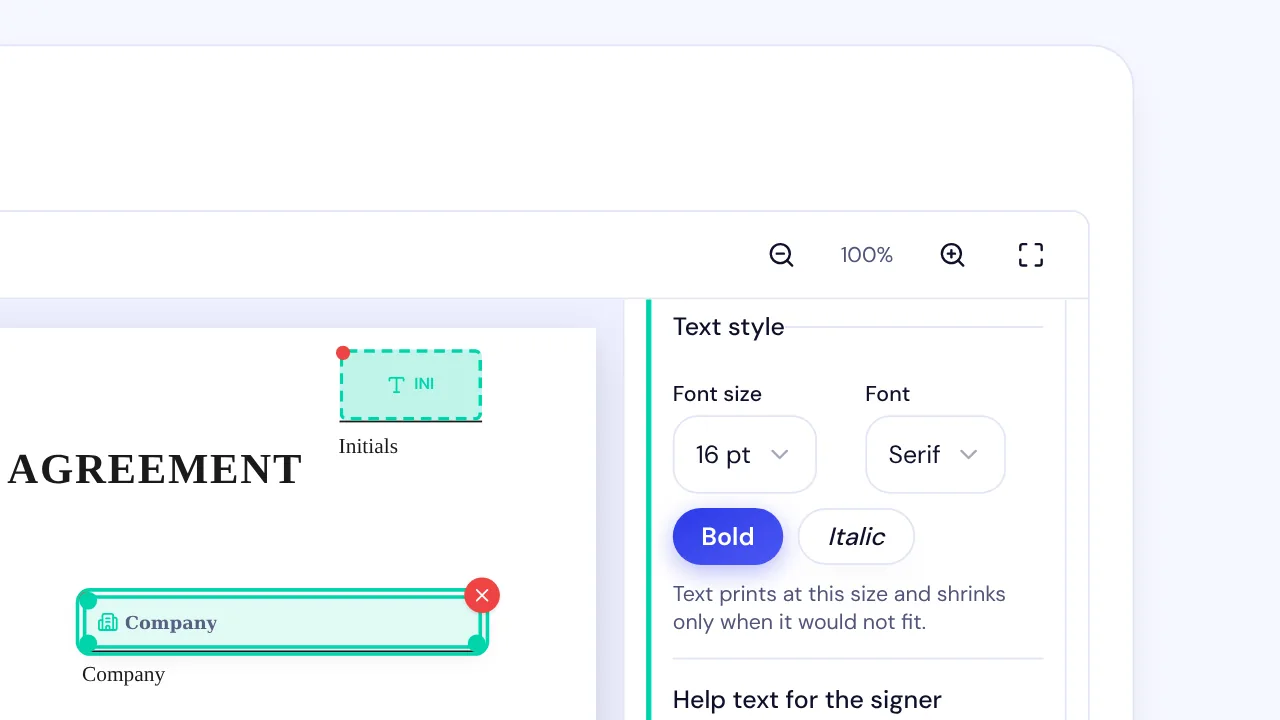
In SignQuick, select a placed field to set its text style, help text, character boxes, copies on other pages and saved version.
Set the text style
Text style appears for fields whose answer prints as text: text, name, email, phone, address, company, title, number, date, dropdown, note and character boxes. New fields use 12 pt and Sans serif. The answer prints at the size you choose and shrinks only when it would not fit.
For a date field, Date format sets how the date prints on the signed PDF. The list shows each format as a sample date, such as 10/27/2026 or October 27, 2026.
- Step 1: On Add Signature Fields, select the field on the page.
- Step 2: Under Text style, choose a Font size and a Font.
- Step 3: Select Bold or Italic to turn either on.
Result: The field's label on the page shows the new style, and the signed PDF prints the answer in it.
Guide the signer with help text
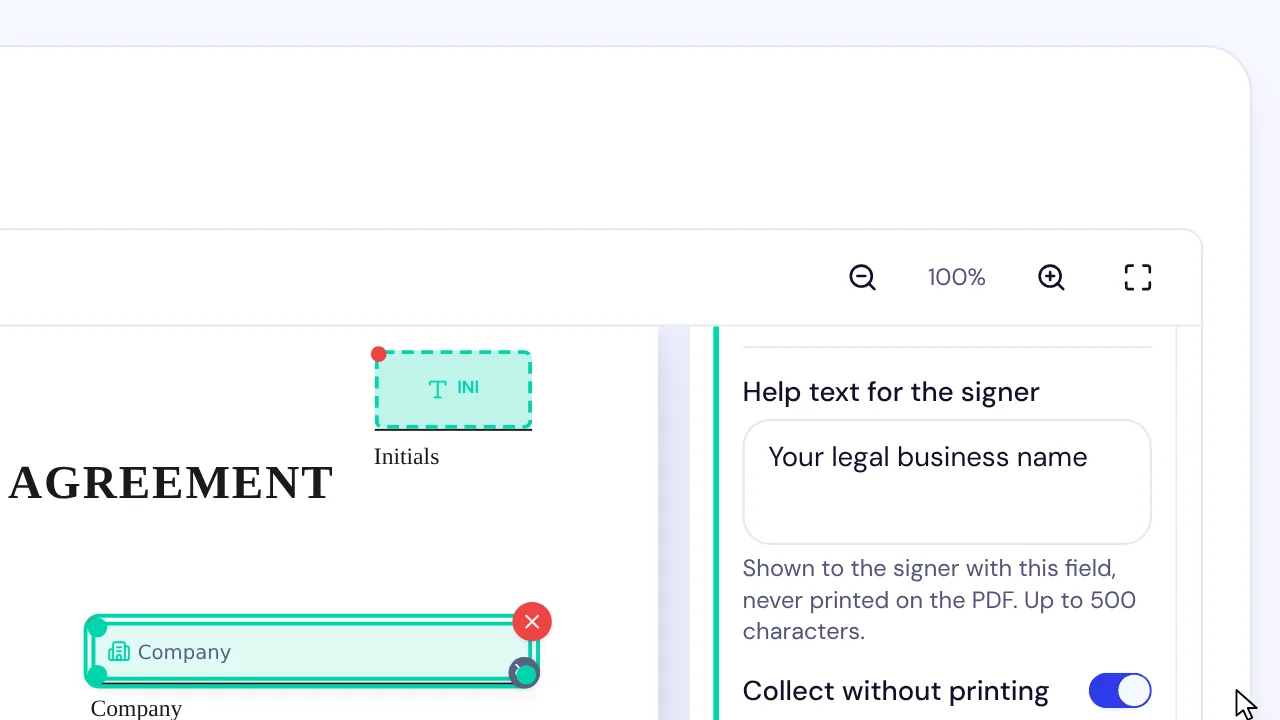
Help text appears to the signer with the field and never prints on the PDF. It can be up to 500 characters.
Collect without printing keeps the signer's answer in the audit trail and the document data but leaves it off the PDF. It's available for text, name, email, phone, address, company, title, number, date, checkbox, dropdown and character boxes fields.
- Step 1: Select the field on the page.
- Step 2: In Help text for the signer, type what the signer should enter.
- Step 3: To keep the answer off the PDF, turn on Collect without printing.
Result: The field on the page gets a small mark that reads Not printed on the PDF when you point to it.
Use character boxes and stamps
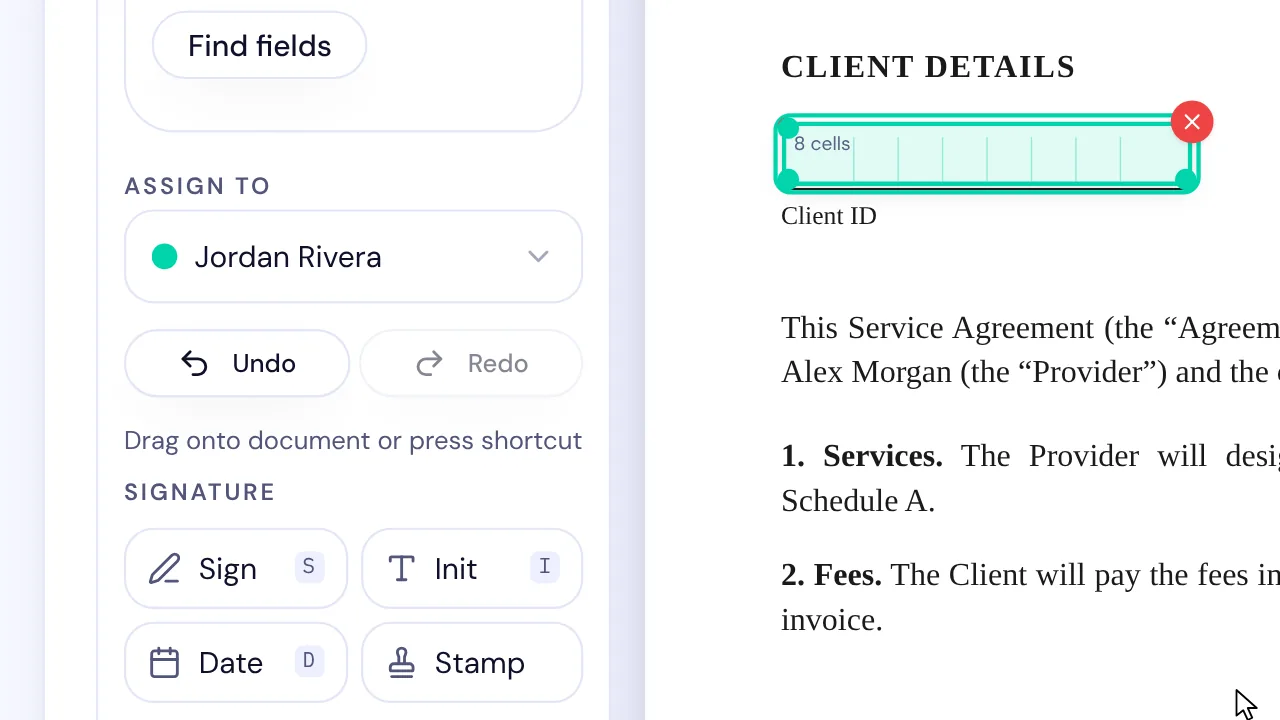
A Character boxes field shows one box per character, for answers like IDs and codes. The signer types the answer, and each character prints in its own box.
A Stamp field asks the signer to click it. The signed PDF then prints a stamp with SignQuick, the signer's name and email, and the signing time in UTC.
- Step 1: In the palette, under Inputs, select Cells, then click the page where the boxes go.
- Step 2: Select the field if it isn't selected.
- Step 3: In Number of cells, enter how many boxes the answer needs, from 1 to 64.
Result: The field shows that many boxes and is labeled with the number of cells.
Repeat a field on every page
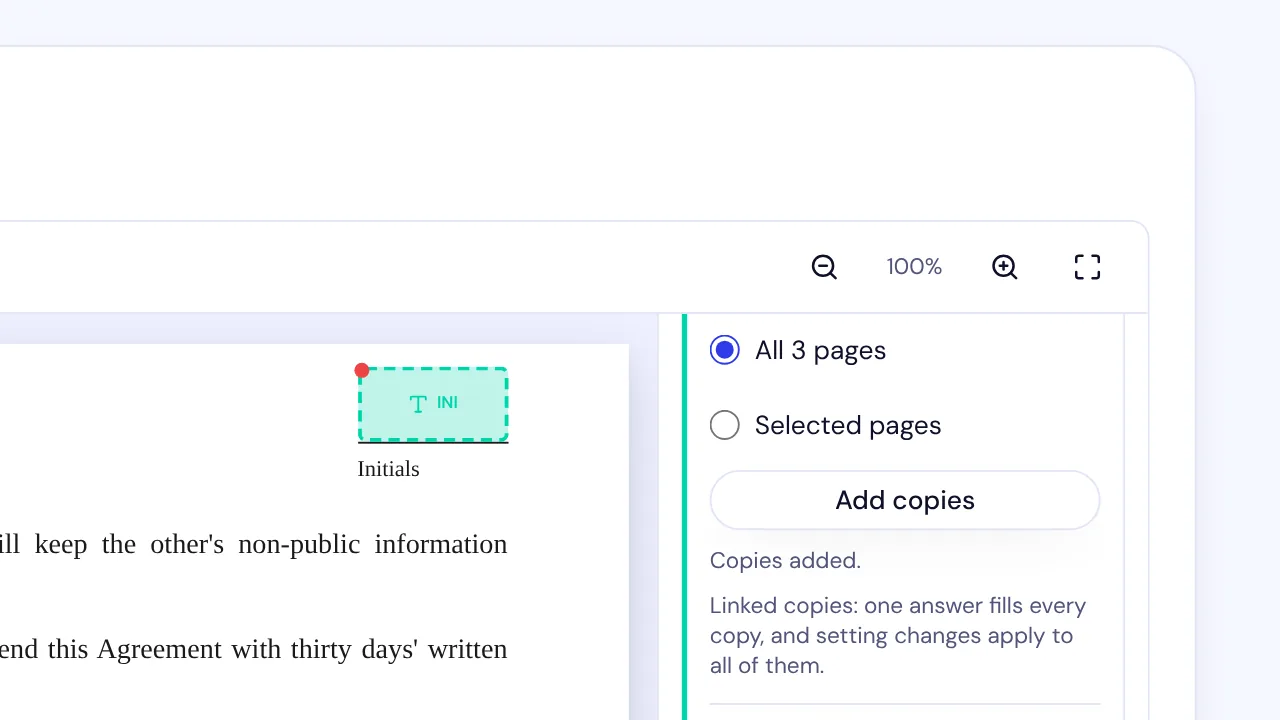
Repeat on pages adds a copy of the selected field in the same spot on other pages, like initials on every page. The copies share one answer, so the signer fills it in once, and a settings change on one copy applies to all of them.
It appears when the document has more than one page. It isn't available for attachment, approve, decline or formula fields.
- Step 1: Select the field on the page.
- Step 2: Under Repeat on pages, keep every page chosen, or choose Selected pages and type pages such as 1, 3-5.
- Step 3: Select Add copies.
Result: Copies added appears, and each chosen page has a linked copy in the same spot.
Save a field for your team
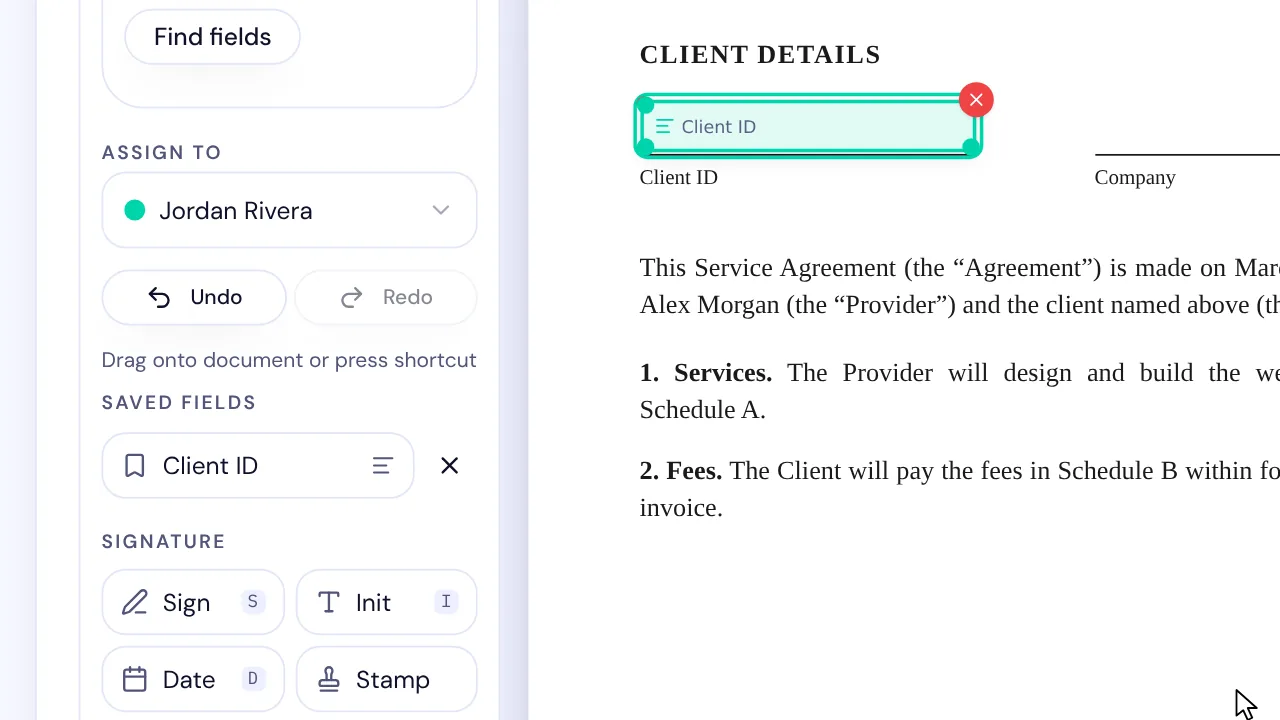
A saved field keeps its type, size and settings. Everyone on your team finds it under Saved fields at the top of the palette, and a team can keep up to 100. To remove one, select the X next to it.
- Step 1: Select a field you've set up.
- Step 2: In Save as a reusable field, type a name, for example Client ID.
- Step 3: Select Save field, the bookmark button next to the name.
- Step 4: To place it again, select it under Saved fields, then click the page.
Result: The panel confirms the save, and the field is listed under Saved fields for everyone on your team.
Common questions
Can two saved fields have the same name?
No. If someone on your team already saved a field with that name, SignQuick asks you to choose another name.